AI Music Video Generators With Lip Sync: A Practical Guide for Musicians
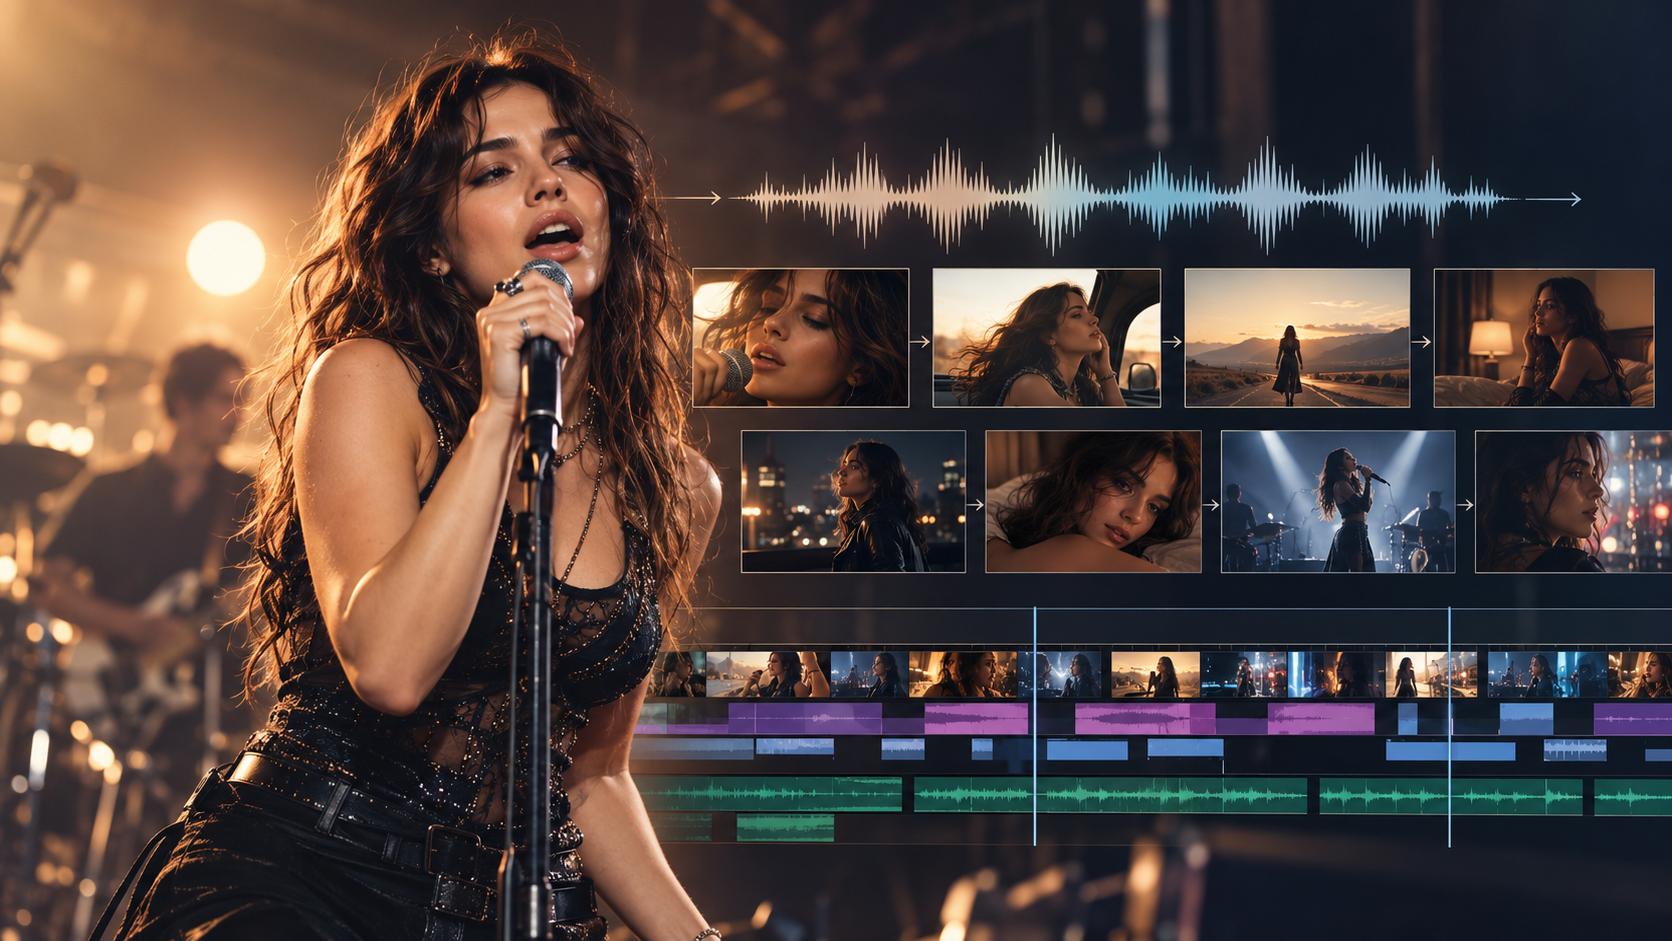
Choose the singing moment before you choose the software. A convincing performance begins with a clear idea of who is on screen, what they are singing, and why the audience should see that moment.
You might be preparing a single for YouTube, turning a home recording into a visual story, or building a short performance around the strongest line in a chorus. Each project asks something different of an AI music video generator.
Learn more about the team building AI Music.Video and its approach to music and visual storytelling.
A tool that produces an expressive portrait can be useful for a close-up. A project built around a full song also needs locations, changes of pace, an identifiable performer, and a way to replace shots that do not work. Those are separate decisions.
This guide compares six ways to organize a lip-sync production. It gives you a practical test sequence, a shot-planning method, and a review checklist you can use before committing to a complete video.
Start with a short passage from your own recording. Use the same passage when comparing workflows, keep your source files organized, and judge the result at the size your audience will actually see.
A useful test answers a specific production question: can this workflow deliver the performance shot my song needs?
Define the Finished Video Before Comparing Tools
Write a one-sentence brief that describes the result. Include the song section, the performer, the setting, and the intended format. This gives every later choice a concrete purpose.
For example, a release teaser might show a singer at a rehearsal microphone for twenty seconds. A narrative video might return to that singer several times between scenes in a different location. Both use lip sync, but they need different amounts of control.
Decide which elements are essential and which can change. If the performer must resemble a particular person, identity consistency becomes a major acceptance criterion. If the subject is a fictional character, you may have more room to explore visual styles.
Also decide whether the mouth must be clearly visible. A silhouette against stage lighting can carry the energy of a performance without requiring a detailed facial close-up. Save close framing for moments where the expression contributes to the song.
Start with a small production brief
Write down your performer, three visual references, the first section you want to test, and the final aspect ratio. You can explore the AI Music Video creation workspace while planning your audio and visual settings.
Compare Six Lip-Sync Production Approaches
These are workflow choices, not a ranking of particular services. A single application may support more than one approach. Use the table to decide what kind of control to look for when you evaluate its current features.
| Approach | Starting point | What to inspect | Suitable project |
|---|---|---|---|
| Portrait animation | One image and a vocal passage | Expression, mouth detail, pose stability | A singer close-up or a short release teaser |
| Video lip sync | An existing performance clip | Face detail during movement | A shot with an established camera move |
| Shot-by-shot generation | A planned sequence of short scenes | Identity and wardrobe between clips | A directed performance with several setups |
| Song-led assembly | A track and a visual direction | Section timing and revision controls | A complete video with recurring motifs |
| Avatar performance | A reusable digital performer | Stylistic fit and available expressions | A recurring virtual artist |
| Hybrid editing | Singing clips, footage, and graphics | Shot matching and audio continuity | A release combining several visual sources |
The useful comparison is how each approach handles your actual material. A polished example on a product page does not tell you whether your chosen portrait, vocal delivery, or camera angle will produce a similar result.
Keep the first evaluation small enough that you can inspect every frame around the important words. You are looking for a repeatable way to produce acceptable shots, including a manageable way to revise them.
1. Animate a portrait for a focused singing shot
A portrait-based workflow starts with a still image and an audio passage. This is an approachable way to test the visual identity of a performer before planning a large sequence.
Choose an image with a readable face and a clear mouth. Consider the lighting, expression, hair, and position of the microphone. An image can be attractive as a photograph while leaving too little information for the performance you want.
Review the eyes and cheeks alongside the lips. If the mouth is animated but the rest of the face feels disconnected, the shot may not communicate the emotion of the recording.
Use the result as one piece of the edit. A strong portrait shot can introduce the artist or land an important lyric without needing to remain on screen throughout the song.
2. Apply lip sync to an existing video shot
Starting with a moving clip lets you establish the camera, pose, and environment before refining the vocal performance. The tradeoff is that the face may change size, turn away, or become partially hidden as the shot develops.
Inspect the entire candidate clip before choosing it. A face that is clear in the first frame may be obscured by a hand or microphone several seconds later.
Keep a copy of the original clip. Compare the processed result against it for changes in facial shape, skin texture, and movement. The edit should gain a useful performance without losing the qualities that made the source shot work.
If only part of the shot is convincing, consider whether that segment has a natural place in your sequence. A shorter usable shot can be more valuable than a longer shot with visible errors.
3. Direct individual shots around the vocal
A shot-by-shot approach gives each generated clip a distinct job. One can establish the room, another can show the performer, and a third can focus attention on a small gesture.
This method asks for more planning. You need a stable description of the artist and a record of which reference images, wardrobe choices, and locations belong together.
Its advantage is a clear revision boundary. When one shot fails your review, you can work on that shot while keeping the surrounding sequence and soundtrack intact.
Before building many clips, assemble three neighboring shots. Watch them together. This reveals continuity problems that are easy to miss when reviewing each image in isolation.
4. Build the visual sequence around the whole song
A song-led workflow begins with the arrangement. Mark the opening, verses, repeated sections, breaks, and ending, then assign a visual purpose to each section.
When evaluating an application for this approach, inspect how it exposes those decisions. Can you change an individual scene? Can you keep the character while changing a location? Can you see how the timeline relates to the original recording?
Do not assume an automatically assembled sequence is a finished edit. Review whether the strongest moments land where you want them, and whether repeated sections feel connected without becoming identical.
The goal is a sequence that follows your creative brief. A long export is only useful if its individual scenes form a coherent video.
5. Build around a recurring virtual performer
A virtual artist can give several releases a recognizable face. Before choosing this route, decide whether the character should feel photographic, illustrated, stylized, or deliberately artificial.
Test the character in more than one situation. A front-facing portrait, a medium shot, and a different lighting setup are useful checks for whether the identity survives changes in presentation.
Keep a compact visual guide with the features that matter most. Include the silhouette, hairstyle, wardrobe, and a few approved expressions. This is easier to apply consistently than a changing collection of long descriptions.
Use source images and performances you are entitled to use. A fictional artist with a clear identity gives the production a direction without depending on an unapproved likeness.
6. Combine singing clips with a conventional edit
A hybrid workflow places AI performance shots alongside footage, typography, animation, or abstract visuals. It is useful when the song already has a visual language that you want to preserve.
Match the sources deliberately. Look at color temperature, contrast, grain, framing, and movement. A change in visual style can be expressive, but an accidental change can make neighboring shots feel unrelated.
Keep the original recording as the audio reference throughout the edit. Repeated exports and replacements are easier to manage when every visual element follows the same soundtrack.
Use cutaways for a creative reason: reveal a detail, change the pace, or shift the point of view. They can also give you useful editorial options when a performance clip has only a short convincing section.
Separate the Mouth, the Edit, and the Words
Three different timing decisions often appear in the same music video. Treating them separately makes it easier to understand what needs fixing.
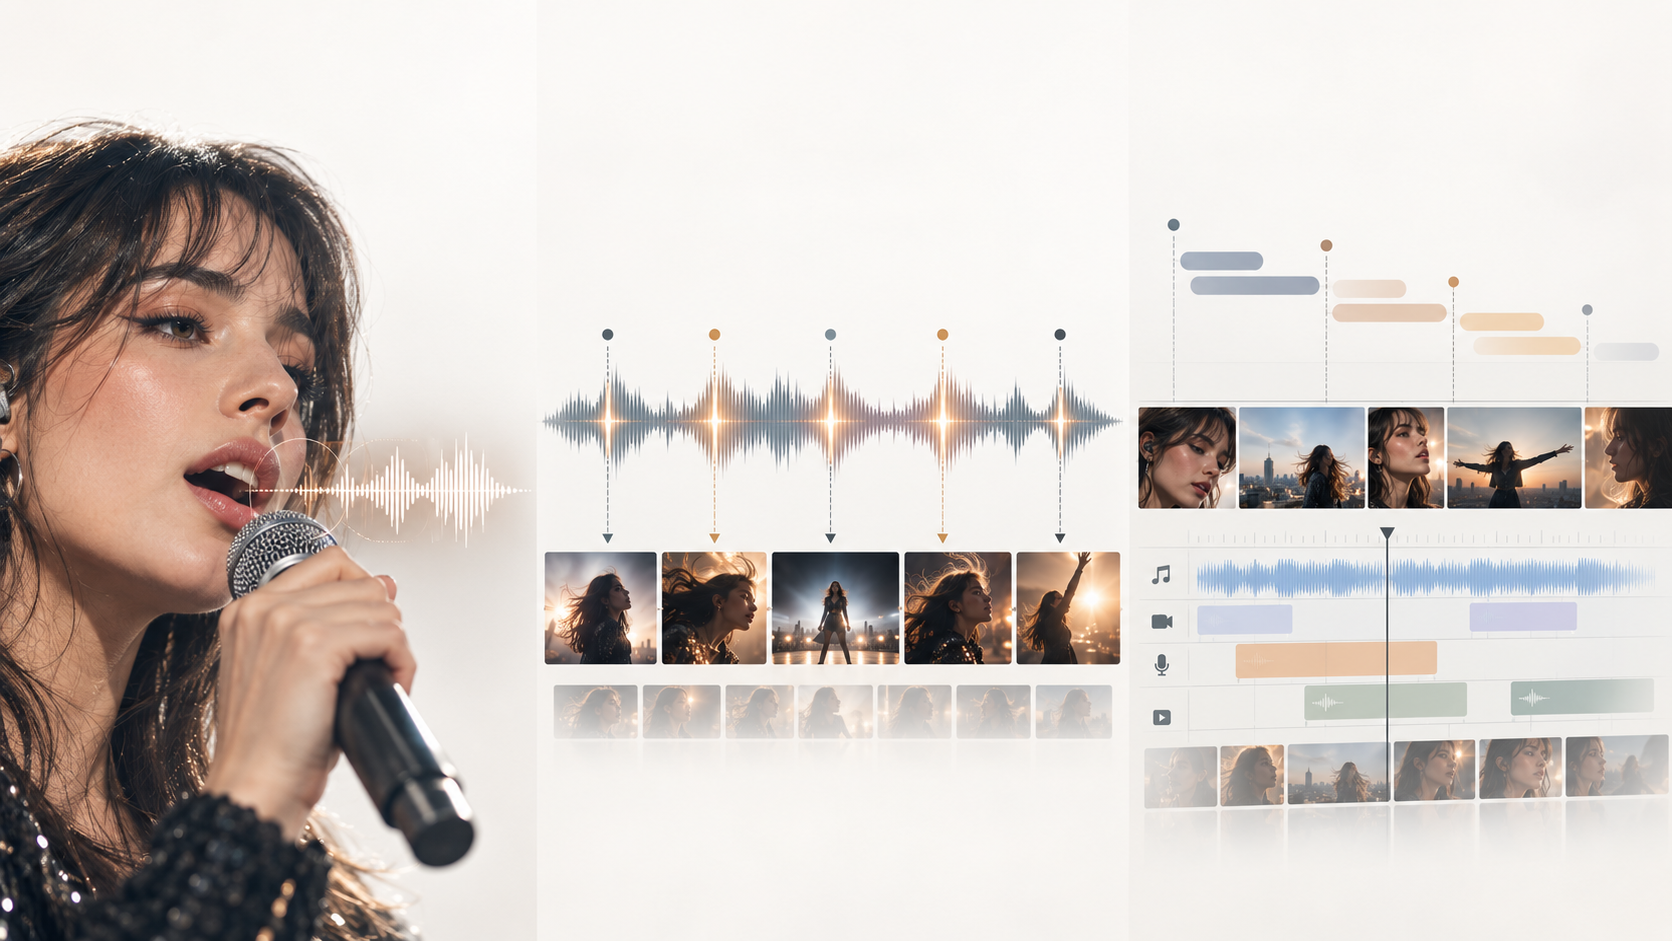
Vocal performance
Lip sync concerns the relationship between the visible mouth and the vocal sound. Review it at normal playback speed first. Pause only after you identify a moment that feels wrong.
A single paused frame may look unusual even during a natural performance. What matters to the viewer is the movement across a phrase and whether it feels connected to the recording.
Musical editing
The edit controls when shots begin and end. A cut can follow a strong beat, arrive before a change, or hold through it. The choice should support the mood of the track.
Try more than one cut length. A sequence built entirely from equal-duration shots may miss the contrast between a restrained verse and an expansive chorus.
Lyrics and on-screen text
Captions and lyric graphics have their own reading pace. Give the audience enough time to recognize the words without covering the most expressive part of the performance.
Check the final format on a phone. Text that feels unobtrusive on a desktop monitor may become a large visual element in a vertical release.
Create a Performer Brief You Can Reuse
A short brief connects the images, prompts, and review decisions. Write it before producing a large collection of shots so you have a stable reference when the project becomes more complex.
- Describe the performer’s recognizable appearance.
- Choose one main outfit and record any intentional changes.
- Define the setting and the direction of the main light.
- Choose a small family of camera distances.
- Describe the emotion of the selected vocal passage.
Separate the stable identity from the action. The artist can remain the same while the camera moves, the location changes, or the performance becomes more intense.
Keep approved references together. If you select a new image halfway through the project, note whether it replaces the original identity or belongs to a different scene.
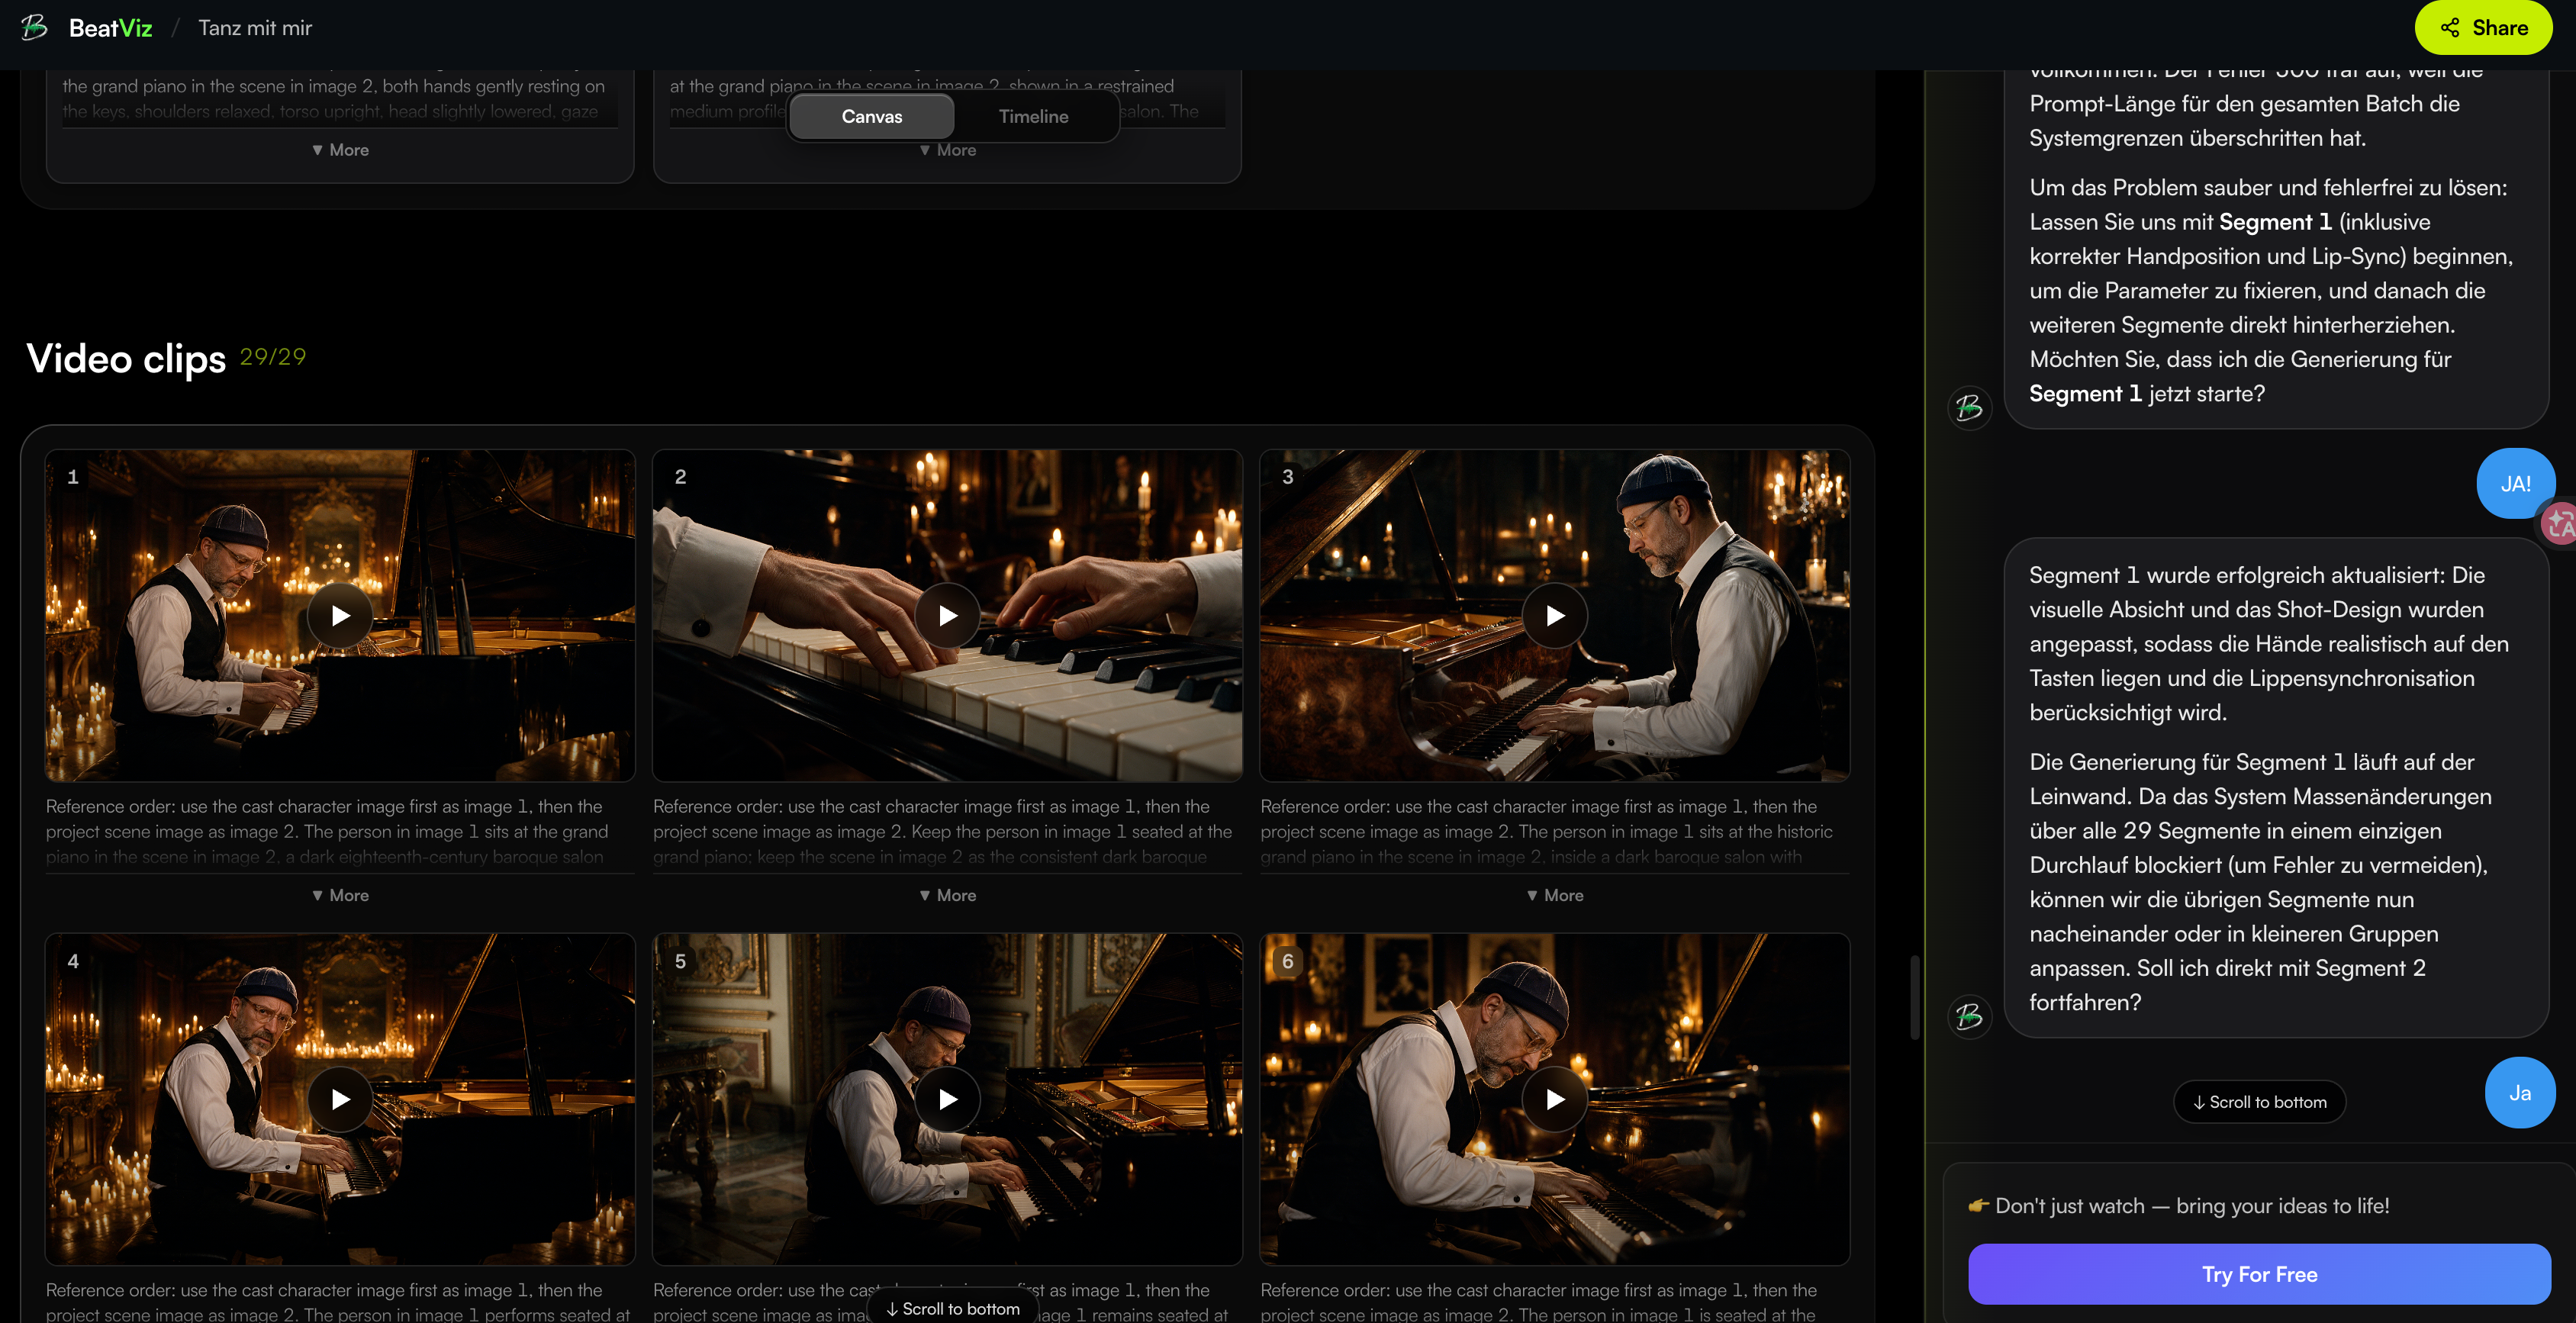
Avoid trying to solve every issue by adding more descriptive words. When a result drifts, compare it with the reference and identify the specific change: face shape, hair, clothes, lighting, or framing.
That makes the next revision easier to judge. You know what should improve and what needs to stay stable.
Run a Short Test Before Producing the Full Video
Choose a representative passage that includes both a calm phrase and a more expressive moment. A convenient passage is useful, but it should also resemble the material you plan to use in the finished video.
Prepare the audio reference
Work from the version of the track intended for the release. Keep the original file unchanged and label any shorter excerpts clearly.
If a workflow offers separate vocal input, read its current input requirements and keep the source alignment intact. Do not guess how a tool treats stems, accompaniment, silence, or overlapping voices.
Test one variable at a time
Keep the audio passage stable while comparing two portraits. Keep the portrait stable while comparing two camera framings. Changing everything at once makes it hard to understand which choice affected the result.
Save the inputs alongside each candidate output. A promising shot is easier to build on when you know which settings and source files produced it.
Review with a clear acceptance checklist
- Play the clip with the source recording at normal speed.
- Check the face during the clearest words and the strongest expression.
- Inspect identity, wardrobe, lighting, and framing.
- Place the clip beside a neighboring shot.
- Decide whether to keep it, trim it, or generate a replacement.
Write a specific reason for rejection. “The face changes at the turn” gives you a useful next action. “The clip feels wrong” is a starting impression, but it does not yet identify a fix.
Keep the test small, the comparison consistent, and the reason for each revision visible.
Turn the Test Into a Complete Shot Plan
Once you have a workable performance setup, map it onto the arrangement. The full video needs a visual progression, even when it returns to the same location.
For a verse, you might emphasize context and movement. For a repeated hook, you might use a familiar composition so the audience recognizes the return. A bridge can change the distance, setting, or visual pace.
Write each shot as a small instruction: subject, action, framing, location, and purpose. This helps you decide whether two proposed shots are meaningfully different.
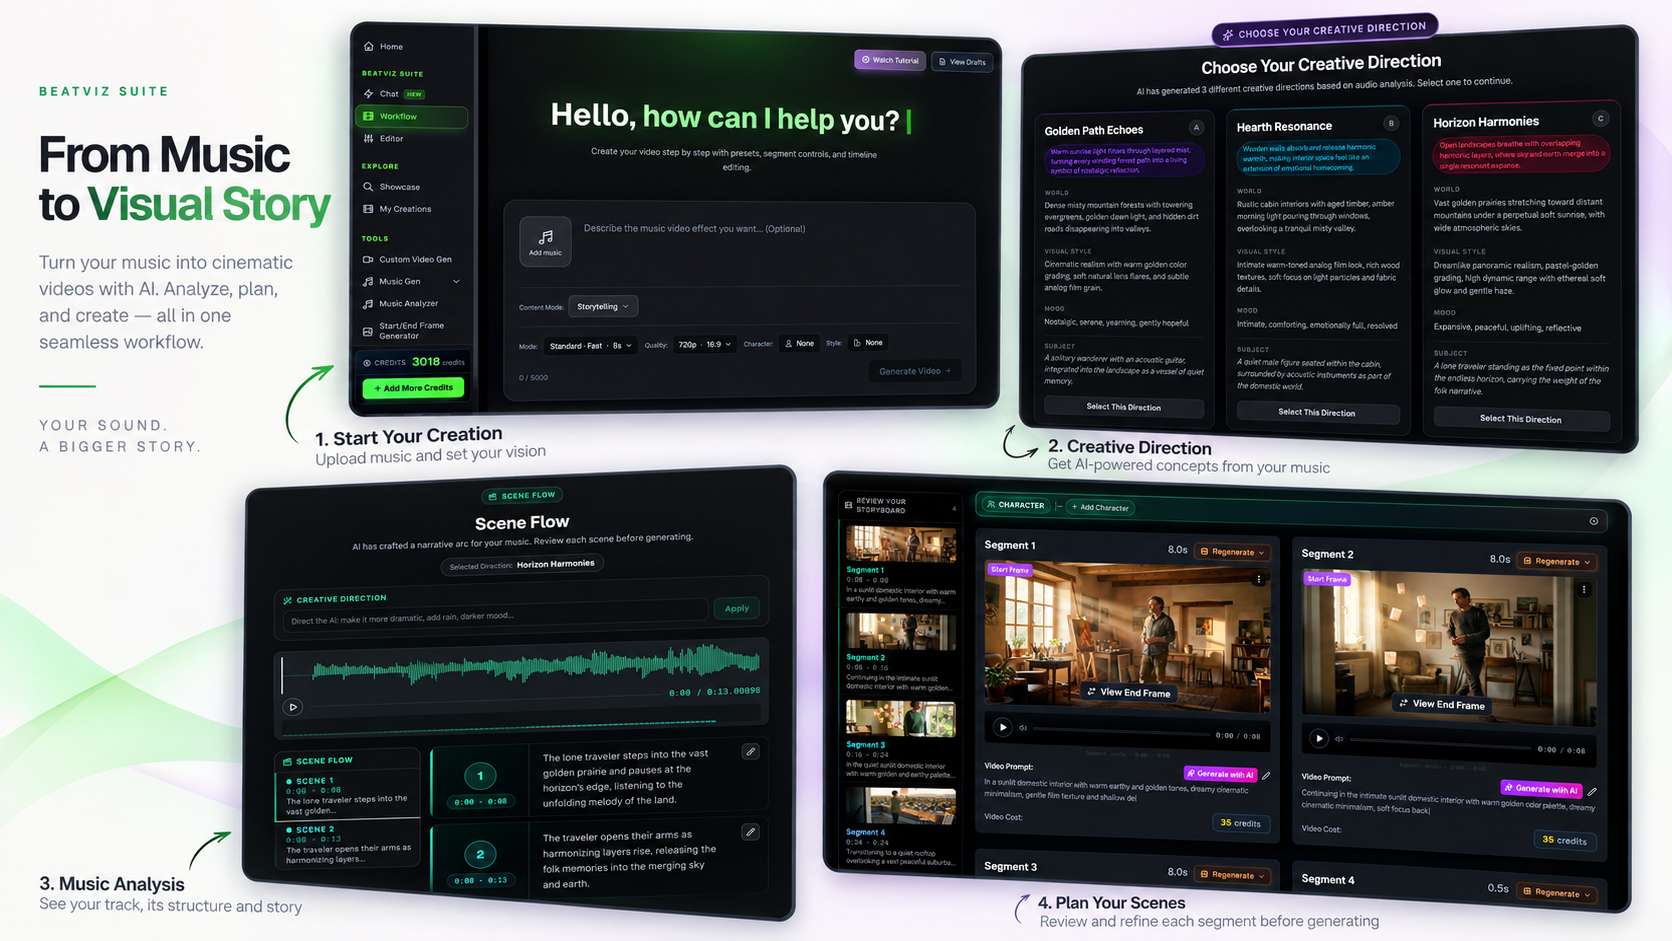
Leave options around transitions. A wide view, a detail, or an atmospheric insert can connect two performance setups without asking a single generated clip to accomplish every movement.
Keep a simple status for each planned shot: selected, needs review, or replacement needed. The purpose is to maintain an overview, not to create a complicated production system.
Plan the sequence around your recording
Keep your audio, visual direction, and performer references together. Explore music video visual ideas, then return to your brief before adding more shots.
Fix the Right Problem During Review
The mouth feels late or early
First check whether the correct audio passage is aligned with the correct clip. A timeline offset and an unconvincing generated mouth are different problems.
Compare the beginning and end of the phrase. If the alignment changes across the shot, inspect the source duration and any speed adjustments before deciding what to regenerate.
The performer changes between shots
Review identity before judging small facial movements. Check the reference image, hairstyle, clothing, and proportions across neighboring clips.
Choose the strongest version as the reference for the sequence. Avoid accepting a different identity in each shot simply because each individual result looks polished.
The performance looks emotionally flat
Consider whether the original pose and expression fit the recording. A restrained image may be a poor starting point for an intense vocal moment.
Try changing the performance direction or using the shot for a quieter part of the song. Editing can also create contrast by placing a close-up after a wider, less expressive image.
The video becomes repetitive
Look at the sequence without focusing on technical errors. Do camera distance, location, and action change for a reason? Does the return of a repeated shot feel intentional?
Remove shots that repeat information without developing the mood or story. A shorter, clearer sequence can communicate more than a longer collection of similar clips.
Check the Final Export as a Viewer
Review the exported file, not only the timeline preview. Confirm that the correct soundtrack, full duration, and intended framing made it into the export.
Watch once without stopping. Note the moments where your attention drifts or where a visual problem pulls you away from the song. Then revisit those sections individually.
Check the first and last frames, text readability, audio starts and endings, and any changes in image quality between sources. Test on both a desktop display and a phone if those are part of your release plan.
Keep the project files and approved source assets together. If you later need a shorter cut or another aspect ratio, an organized original sequence gives you a reliable starting point.
Frequently Asked Questions
How do I choose an AI music video generator with lip sync?
Start with the type of shot you need, then test that shot with your own audio and a consistent reference image. Compare the resulting performance, revision options, export format, and effort required to make it fit your edit.
Should the artist sing throughout the video?
That is a creative choice. Plan the moments where seeing the singer adds something, then use other scenes when they better support the track. You can keep a performance-led identity without showing a mouth in every shot.
Can I begin with a single image?
A single image can be the starting point for a portrait-based workflow. Check the selected application’s input requirements and test the face at the camera distance you intend to use.
How long should my first test be?
Use one complete phrase or another short passage that represents the performance. Keep it within the selected tool’s current limits and short enough to review carefully. Expand only after the approach works for your material.
What if several voices appear in the recording?
Decide which performer should be visible during each phrase. Consult the tool’s current guidance for multiple voices or vocal stems, and test that case separately rather than assuming a successful solo passage proves it will work.
Do I need a different video for vertical platforms?
Plan the framing for each output. A centered portrait may adapt easily, while a wide composition with several subjects may need a separate shot or a deliberate edit. Check faces, captions, and important action after cropping.
What should I keep when comparing results?
Save the original audio, source image or clip, settings, generated result, and a short review note. This gives you enough context to repeat a useful approach or explain why a candidate did not fit.
When is the video ready to release?
When the final export supports the song, the important performance shots pass your review, and you have checked the media and permissions for your intended use. Judge the complete piece as well as the individual clips.
For the product steps, follow how to make a music video, then use the character consistency checks before generating performance clips.
Make the Performance Serve the Song
The strongest workflow is the one you can use deliberately. You should know why a shot is in the video, what makes it acceptable, and how you will replace it if it does not work.
Start with a clear brief and one representative passage. Establish the performer, compare a small number of approaches, and build the sequence from shots that already fit your direction.
Keep the original soundtrack at the center of your decisions. The visual performance, the edit, and the lyrics can work together while remaining separate things you can review and improve.
When you are ready to plan your own sequence, open the AI Music Video workspace and begin with the recording and visual direction you want to develop.
Related Blog
Music Maker Games and Finished Tracks: What Changes
Understand what a music maker game can help you sketch, what to check before export, and how to develop the idea into a track for a music video.
Read article →
How to Write a Good Rap with a Rap Lyrics Generator
Use a rap lyrics generator to turn an idea into verses. Follow the settings, prompt example and editing steps to improve rhymes, flow and your final draft.
Read article →